💳 Stripe Setup
Connect Stripe for Payments
Connect Stripe for Payments
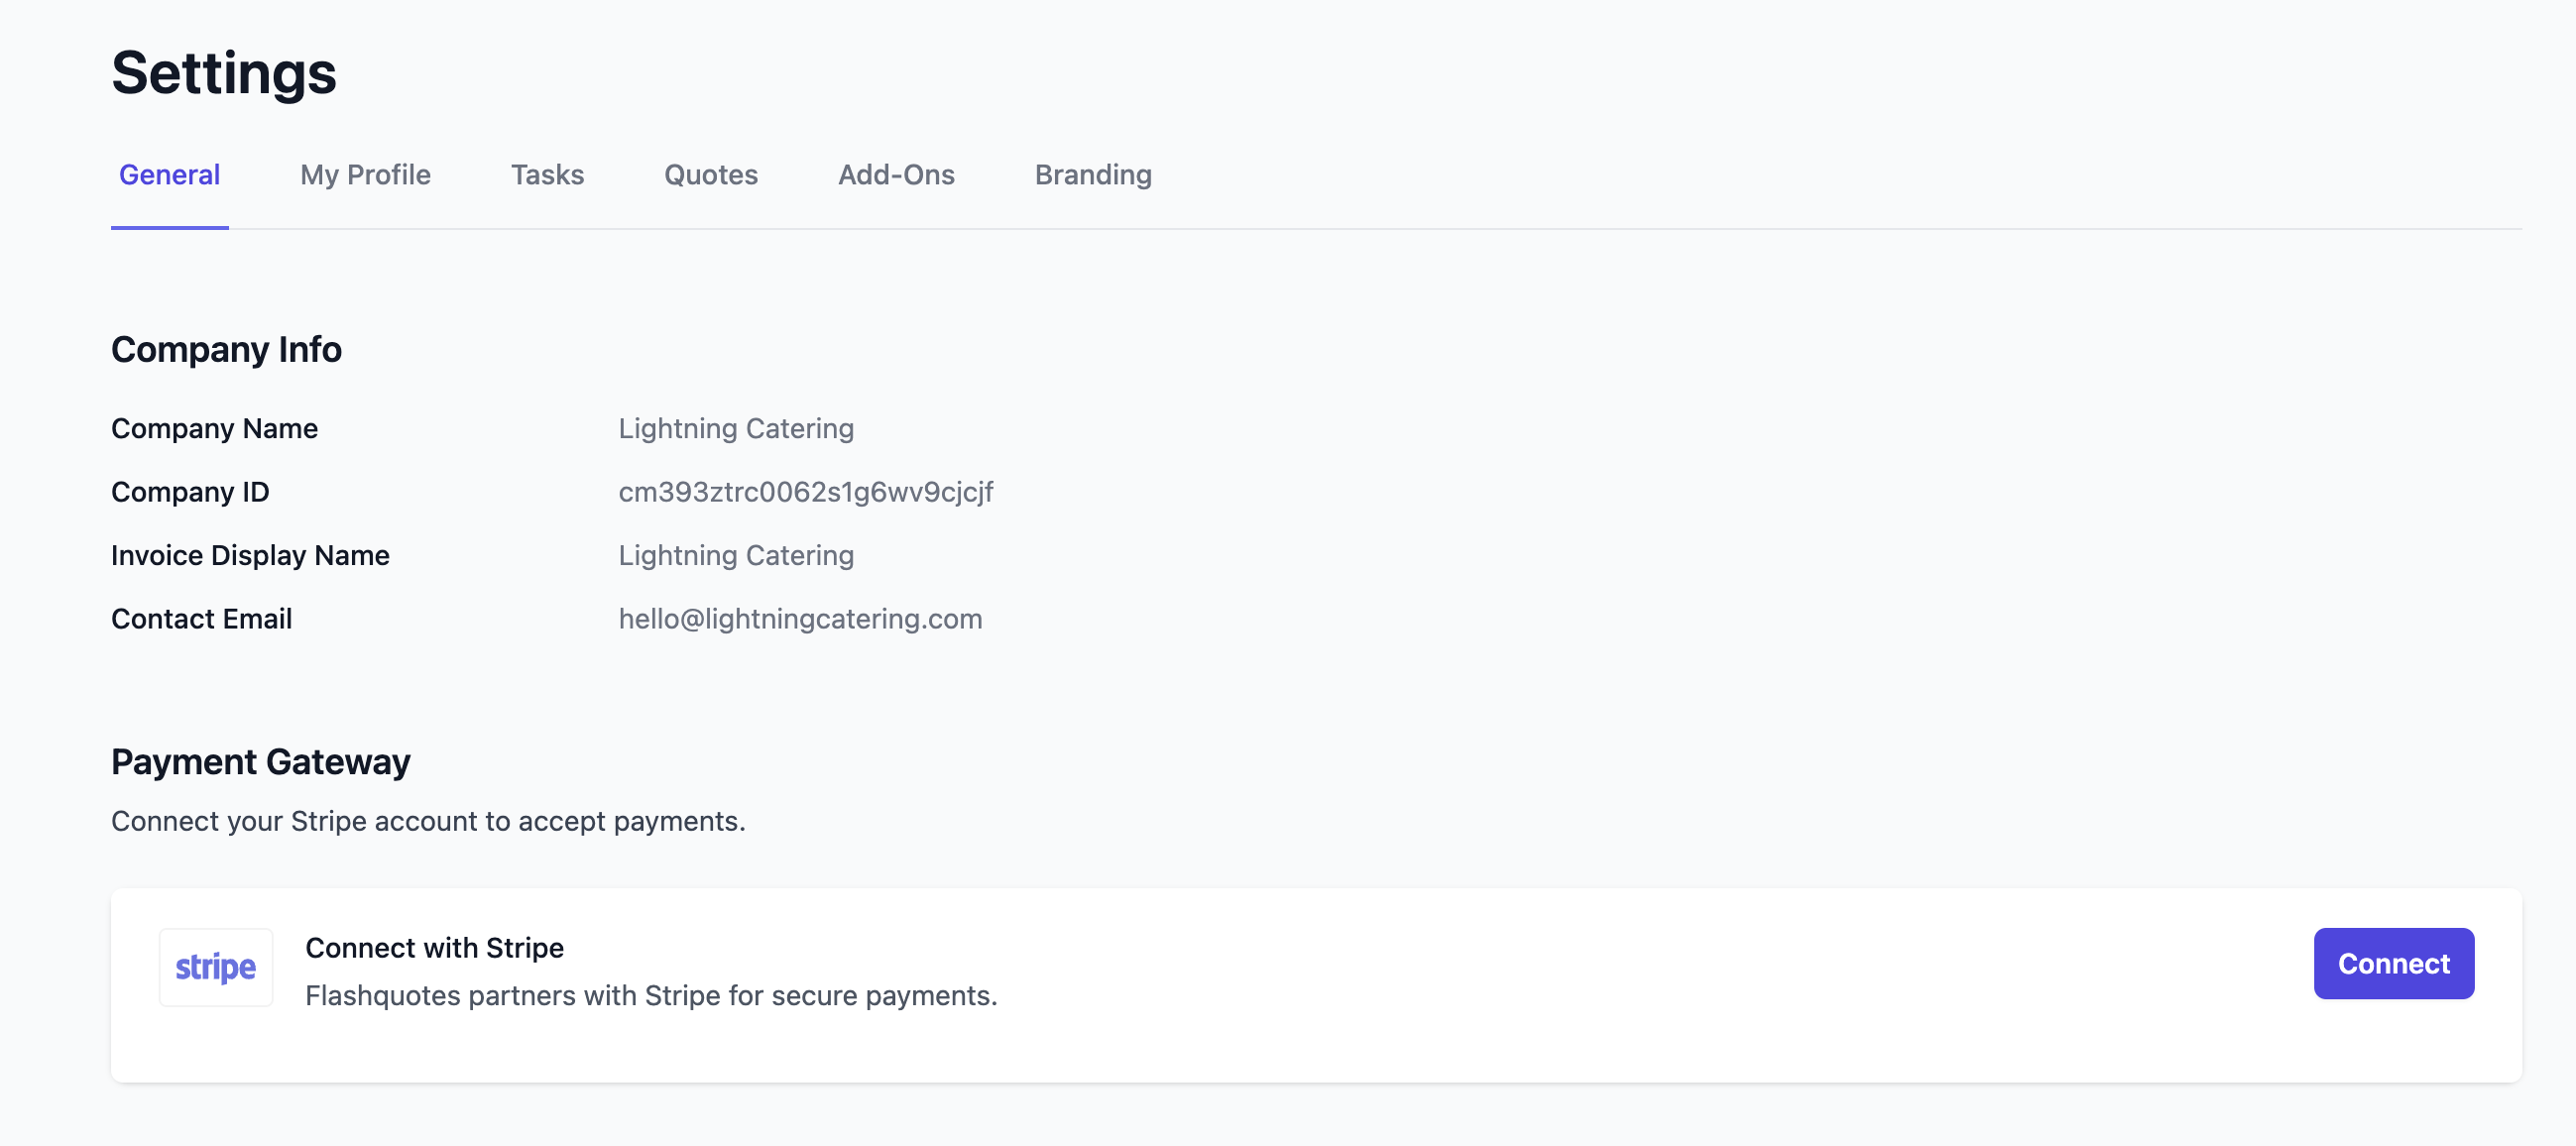
- Navigate to the Settings page.
- Under
General, find the Payment Gateway section. - Click Connect.
- Follow the instructions to connect your existing Stripe account or create a new one.
⚙️ General Settings
Add Locations
Add Locations
Locations represent the headquarters or warehouse where your resources and team are based.
- Go to General Settings.
- Click the
+ Add locationbutton to add your locations. - Add as many locations as needed for your operation.
Locations will help in identifying which warehouse will be supporting an event, will be associated to your staff and resources, and can be used to build dynamic timelines so that your team always shows up on time.
Set Timeline Defaults
Set Timeline Defaults
In General Settings, configure default timelines for key event stages like “Loading time” and “Setup time.”These defaults are used to generate dynamic event timelines for all your events.
Have a one-off event that needs a different timeline? No worries - you can change the timeline for any specific event as needed.
Brand Your App
Brand Your App
Upload your logo and set a primary color in Branding Settings.
- Your logo will appear on customer-facing pages like quotes and invoices.
- The primary color personalizes your app’s buttons and icons.
🚛 Resources
Add core resources like coffee carts, bar carts, vans, and trailers to link them to events in the app. This unlocks awesome features like real-time availability and insights into resource utilization.Add Resources
Add Resources
Resources like coffee carts, bar carts, vans, or trailers can be added in the Resources section.
- Click
+ Add Resource. - Name and categorize the resource.
- Assign it to a location and set its availability for events.
👥 Staff
By adding your staff, you enable these team members to be linked to events throughout the application and help avoid double booking your staff for upcoming events.Add Staff
Add Staff
Add your team members in the Staff section.
- Assign roles (e.g., “Barista”) and locations.
- Ensure contact information is complete for easy event coordination.
📋 Forms
Forms allow you to build custom and flexible experiences to collect important information from your customers. This is especially important when allowing your customers to book your services.Configure Booking Form
Configure Booking Form
Configure the form used to collect customer information during the booking process.
- Go to Forms.
- Click on the auto-generated
New Booking Form. - Update, add or delete form questions as needed.
Payment terms are configured directly on quotes in the Booking Flow section. See our Booking Flow guide.
Share or Embed Lead Intake Form
Share or Embed Lead Intake Form
✅ Task Templates
Task templates are a powerful way to ensure your admin and event team are completing specific tasks for every event you book. This helps ensure your team doesn’t miss a beat in delivering a great event.Add Admin Task Templates
Add Admin Task Templates
In Task Settings, you can setup your Admin Task Templates. These tasks will be added to the Overview section of each event and will be clearly presented in the Events section. You can also include a Default Due Date for each task, to ensure they’re completed timely.
Add Event Brief Task Templates
Add Event Brief Task Templates
In Task Settings, you can setup your Event Brief Task Templates. These tasks will be added to the Event brief section of each event and, most importantly, will be presented in the public event brief document to share with your event team.Each task can be put in a specific order and assigned to a section of the event brief (e.g. “Prep & Loading” or “Service”). This way, your event team can reference the event brief throughout working the event to make sure all tasks are complete.
Use Markdown in Tasks
Use Markdown in Tasks
Flashquotes uses a rich text editor (TipTap) for content formatting throughout the platform. This provides a user-friendly, visual editing experience similar to Google Docs or Microsoft Word.
Available Formatting Options
The rich text editor provides standard formatting tools:Text Styling
- Bold text - Use the bold button in the toolbar
- Italic text - Use the italic button in the toolbar
- Underlined text - Use the underline button in the toolbar
Lists and Structure
- Bulleted lists
- Numbered lists
- Headings (H1, H2, H3)
- Paragraphs with proper spacing
Links and Media
- Hyperlinks - Select text and use the link button
- Email links
- Image insertion (where supported)
Where You’ll Use the Rich Text Editor
The rich text editor appears in several areas of Flashquotes:- Quote descriptions and notes
- Email templates and content
- Form instructions and help text
- Invoice notes and terms
Tips for Best Results
- Use the formatting toolbar buttons rather than trying to type markdown syntax
- Preview your content before saving to ensure it displays correctly
- Keep formatting simple and professional for customer-facing content
- Use headings to organize longer content sections
If you’re familiar with markdown and prefer that workflow, the rich text editor may feel different initially. However, it provides better WYSIWYG editing for most users.
✨ Add-Ons
Use add-ons for all the extra services and customizations that your customers can add to their order beyond your basic service offering. These add-ons will be used throughout Flashquotes, including your quote line items, event details and event brief, invoice line items, etc.Create Add-Ons
Create Add-Ons
In Add-Ons Settings, create add-on services that customers can add to their order.
- Click
+ Create Add-On. - Add a name, description, price type (e.g., “Flat Price”, “Per Guest”, or “Per Unit per Guest”), and price for each add-on.
📨 Email accounts
Use our Google Integration to send emails to your customers from your own email address. Go to Integration Settings in Flashquotes and click + Add account to get started.🎯 Flashquotes AutoDraft
Save time with AutoDraft - automatically pre-build draft quotes from every lead. Set up AutoDraft →
📬 Send Your First Quote
Let’s walk through how to send a quote from FlashquotesCreate a Lead
Create a Lead
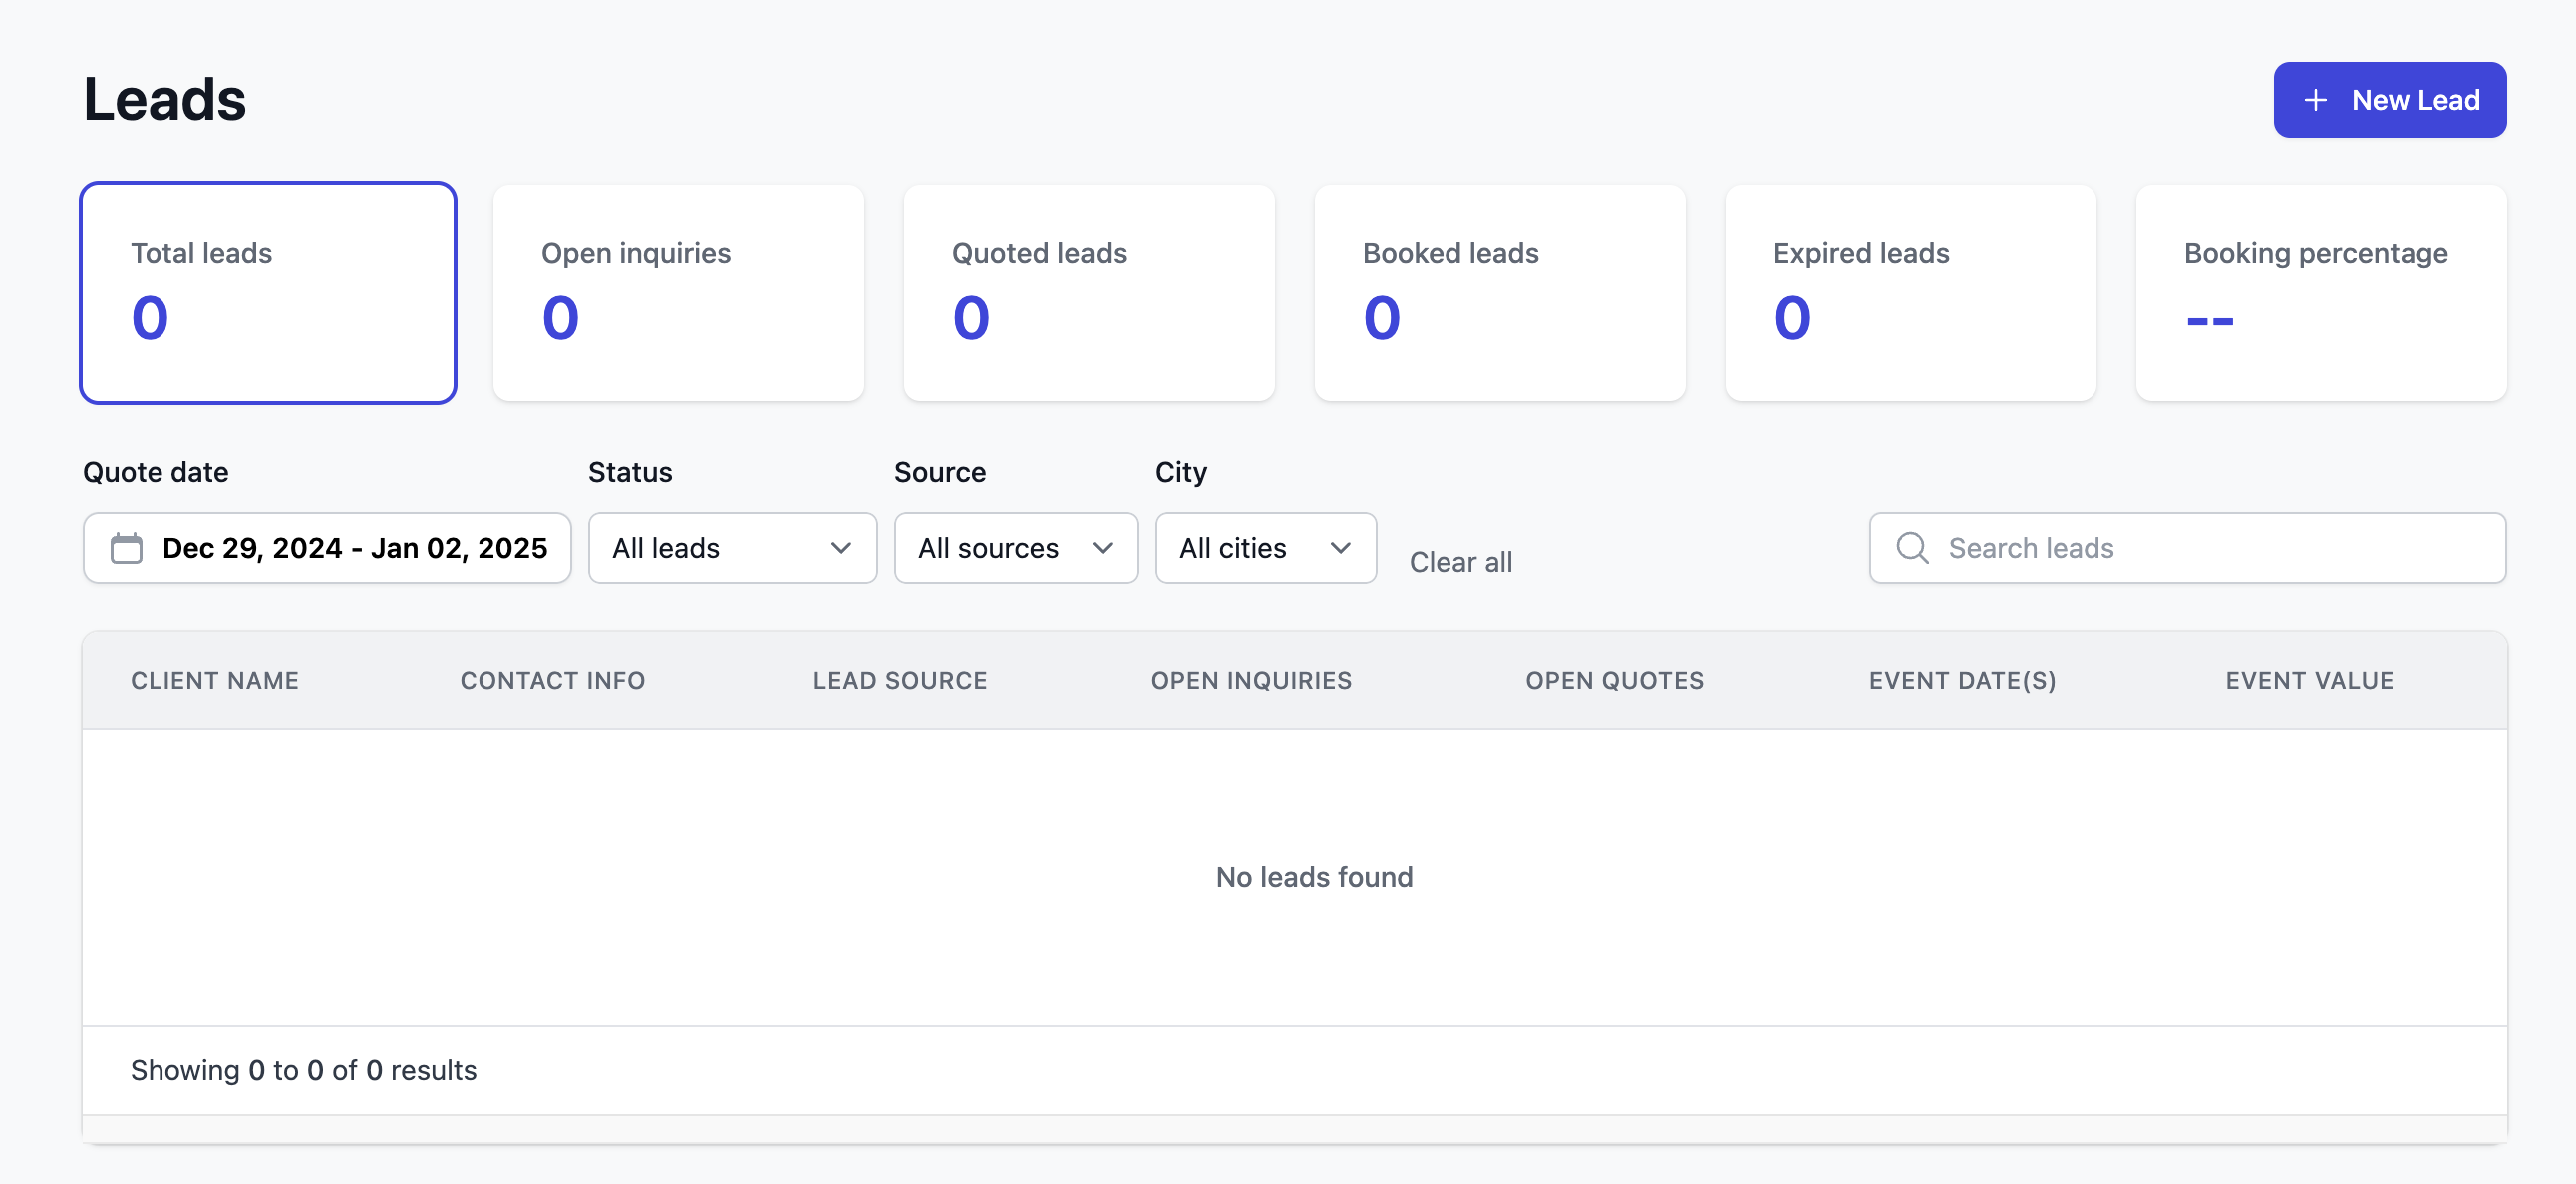
- Go to the Leads page.
- Click on a Lead or create one by clicking
+ New Lead.
Create a Quote
Create a Quote
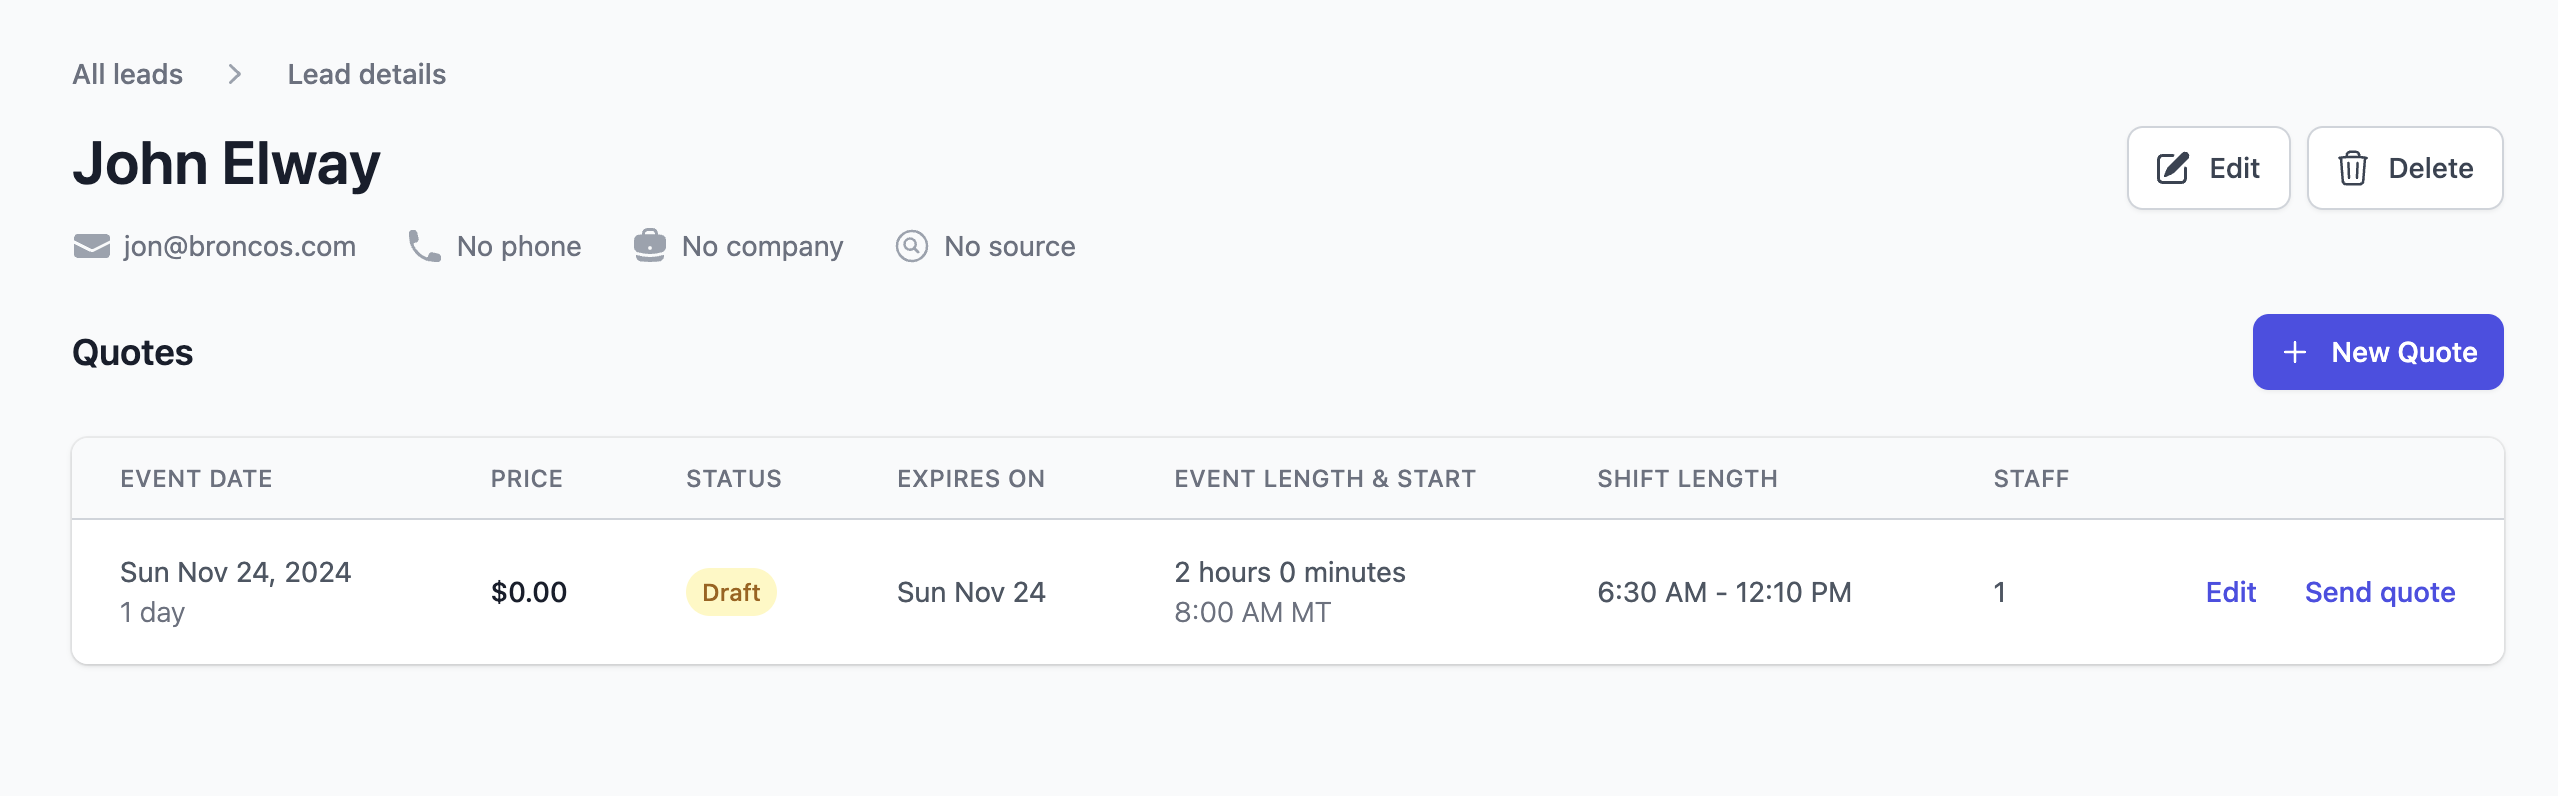
- From the Leads page, click
+ New Quoteto create a new quote. - Input the Address, Service Location, Date and Time and click
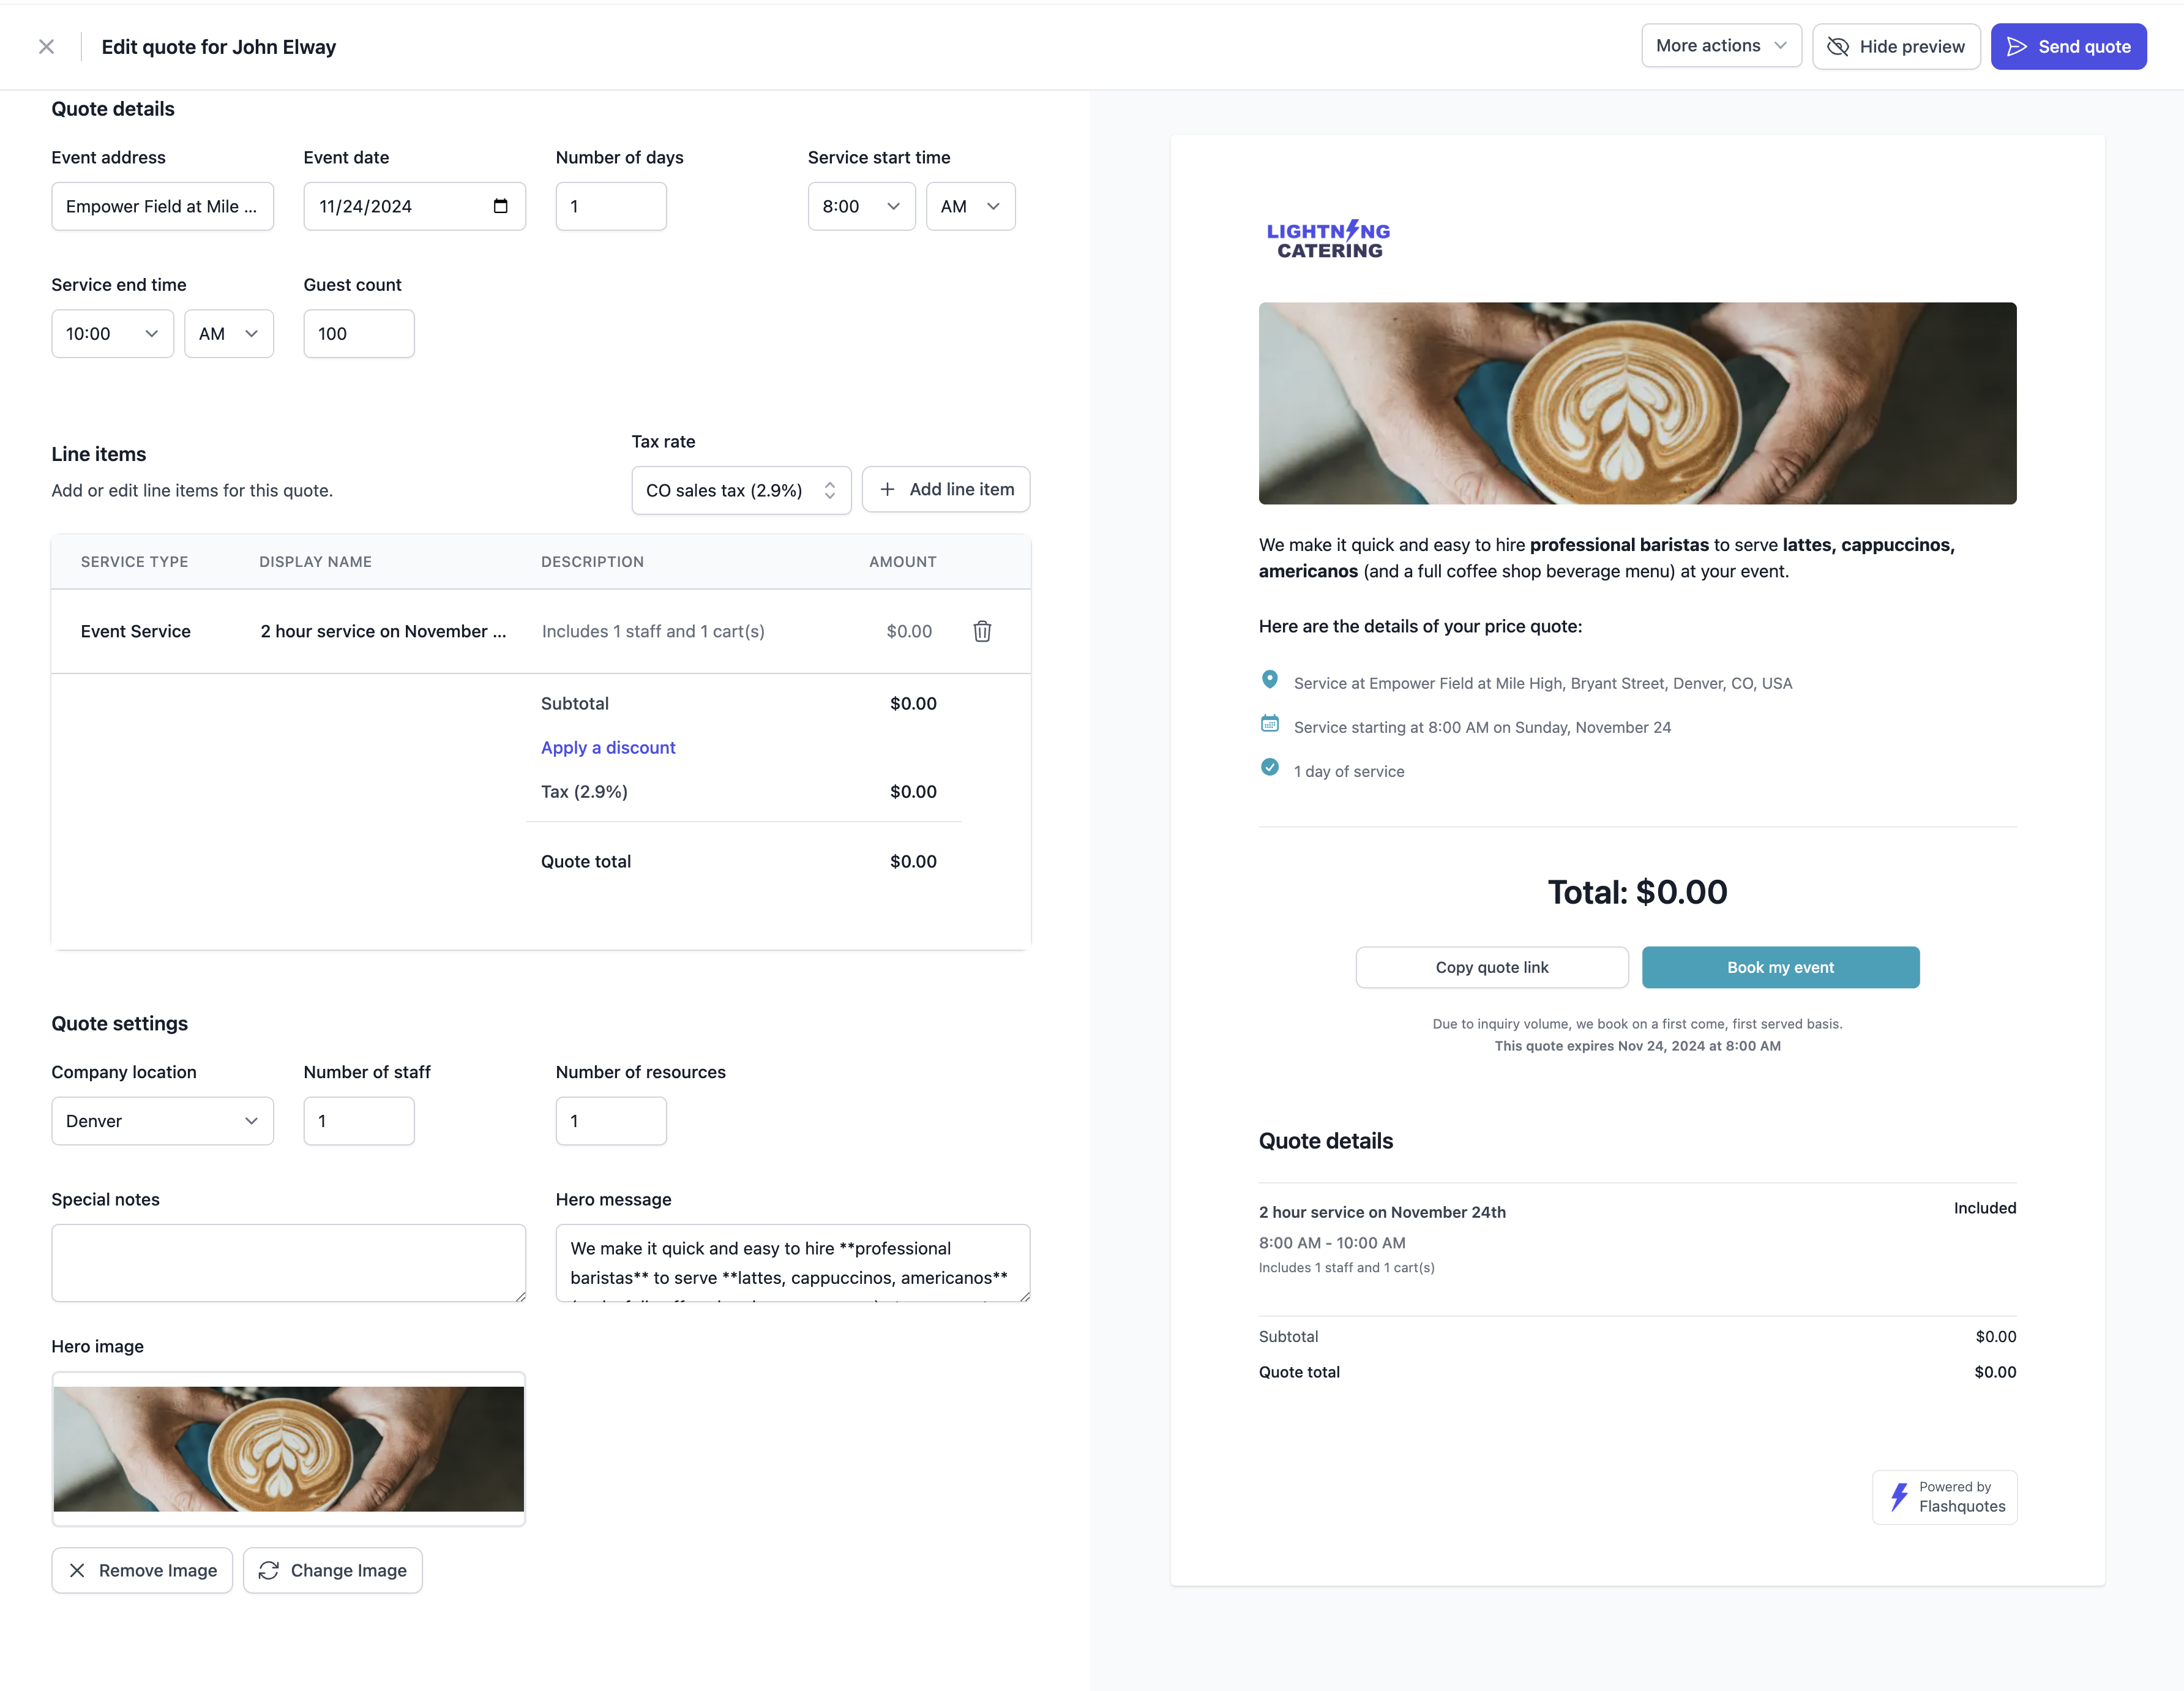
Create. - You’ll land on the quote editing screen. From here you can:
- add line items, discounts, and taxes
- add / edit details about the event service
- customize the look of the quote view
Send a Quote
Send a Quote
- When you’re ready to send it, click
Send quote. You’ll need to choose one of your booking forms to link to the Book my event button. - Click
Send. An email version of the Quote will be sent to the lead with a link to instantly book. - Sit back and wait for the bookings to roll in!